As an Amazon Associate, I earn from qualifying purchases. Privacy Policy / Terms
Painting indoors during the winter months comes with its own set of challenges, but it can also be an ideal time to refresh your home’s interior. Cooler temperatures outside make interior painting projects a great alternative to exterior work. However, to achieve professional-quality results, it’s essential to consider factors like temperature control, ventilation, drying time, and paint selection. This guide covers the best practices for painting indoors during cold months, ensuring a smooth and efficient process.
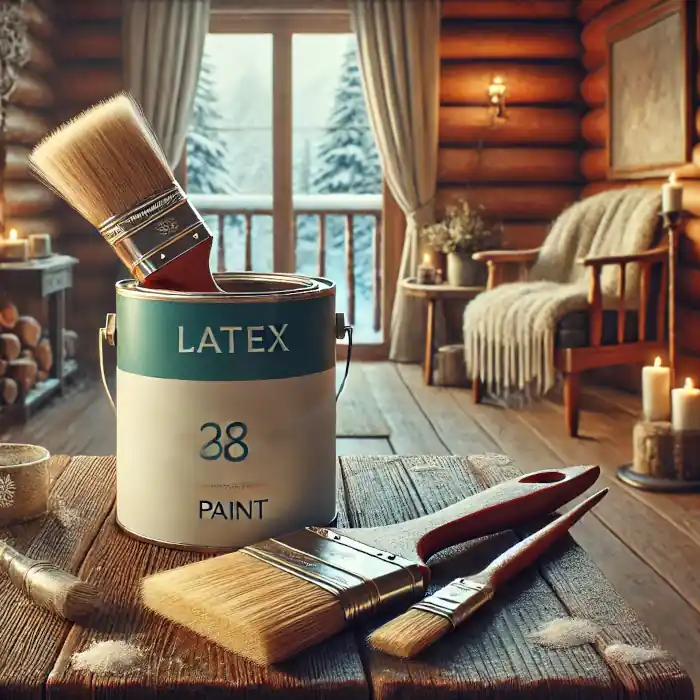
1. Choosing the Right Paint for Winter
Not all paints perform well in colder conditions. Standard latex paints require a minimum temperature of around 50°F (10°C) for proper curing. Fortunately, many modern interior paints are formulated to dry effectively at lower temperatures. Look for labels specifying low-temperature applications to ensure durability and proper adhesion.
Additionally, opt for low-VOC (volatile organic compound) or zero-VOC paints. These paints emit fewer fumes, making them safer for indoor use, especially in winter when windows may be closed more often.
2. Maintaining Proper Temperature and Humidity
Temperature fluctuations can impact how paint dries and adheres to surfaces. Here are some ways to maintain an ideal painting environment:
- Keep your home’s indoor temperature between 60°F and 70°F (15°C–21°C) for optimal drying conditions.
- Use space heaters in particularly chilly rooms to maintain a stable temperature.
- Avoid painting near drafty windows or doors where cold air may interfere with the drying process.
- Monitor humidity levels with a hygrometer. Ideally, indoor humidity should be between 40% and 50% to prevent paint from drying too quickly or slowly.
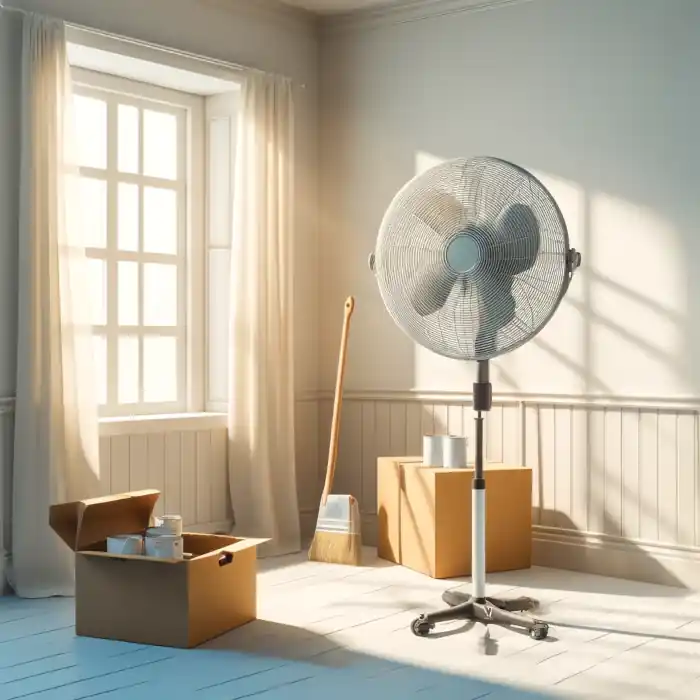
3. Ensuring Proper Ventilation
Winter months mean closed windows and less natural airflow, but ventilation is crucial for safety and to prevent excess moisture from slowing drying times. Here are some effective ways to ventilate:
- Use box fans or exhaust fans to keep air circulating.
- If using oil-based paint, consider wearing a respirator mask to avoid inhaling strong fumes.
- Let painted rooms air out for at least 24 hours before heavy use.
4. Adjusting for Slower Drying Times
Cooler indoor temperatures can extend drying times, affecting how quickly you can apply additional coats. To counteract this:
- Plan for longer drying times between coats (at least 4–6 hours for latex paint, longer for oil-based paint).
- Avoid applying thick coats—thin, even layers dry more efficiently.
- Consider using a dehumidifier or space heater in damp or particularly cold areas to speed up drying.
5. Preparing Surfaces in Winter Conditions
Proper surface preparation is crucial for paint adhesion, especially in winter when walls might be cooler or have unseen condensation. Follow these steps:
- Clean surfaces thoroughly using mild soap and water to remove dust, grease, or residue.
- Ensure walls are completely dry before painting to prevent bubbling or peeling.
- Use a high-quality primer if painting over dark colors or uneven surfaces.
- Patch and sand imperfections to create a smooth painting surface.
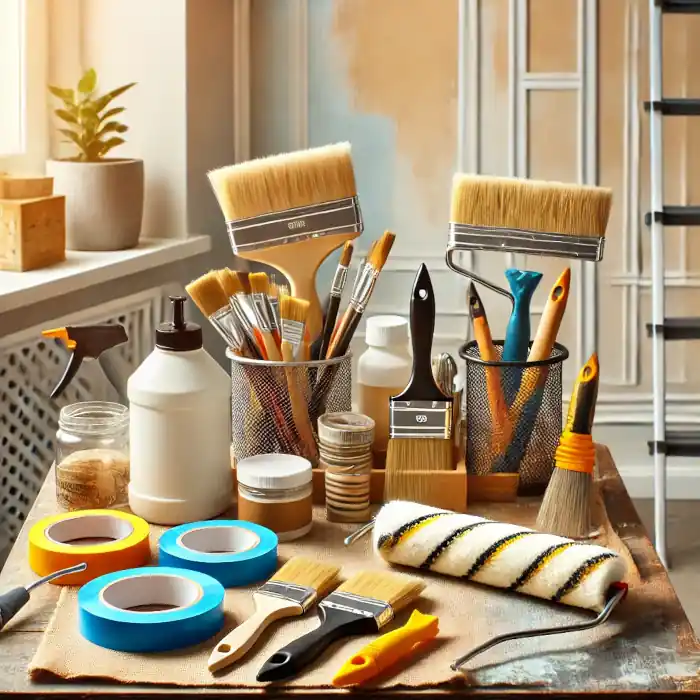
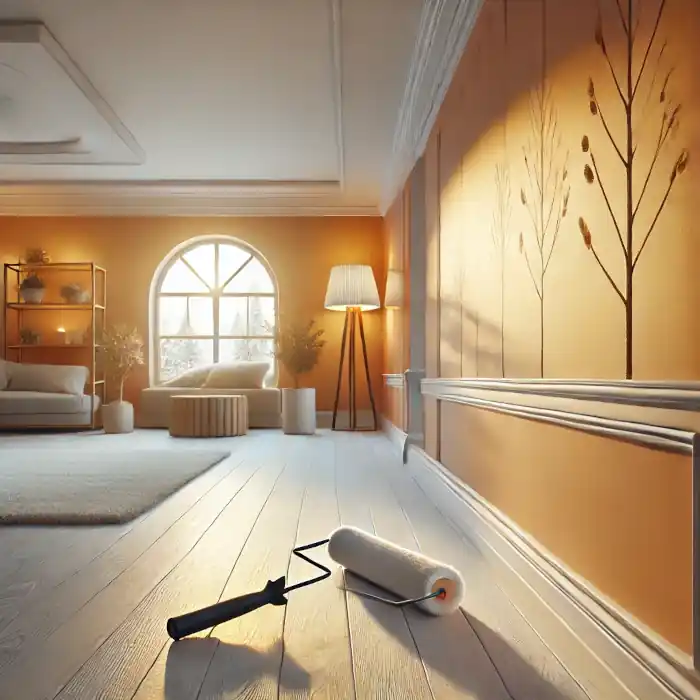
6. Choosing the Right Tools and Techniques
The right tools make a difference in achieving professional results, particularly when painting indoors during winter. Consider these options:
- High-quality synthetic brushes work best with latex paints.
- Microfiber or mohair rollers provide smooth finishes with minimal splatter.
- If spraying paint, choose an airless sprayer and ensure proper ventilation.
- Consider drop cloths to protect floors from drips.
7. Managing Paint Storage and Handling in Cold Weather
Paint consistency and effectiveness can degrade if stored improperly during winter. Follow these guidelines:
- Store paint in a temperature-controlled environment (above 50°F) to prevent freezing.
- Avoid storing paint in garages or basements that experience significant temperature drops.
- If paint thickens due to cold exposure, allow it to sit at room temperature for several hours before use. Never thin paint with excessive water, as it may affect performance.
8. Tackling Common Winter Painting Challenges
Painting in cold months presents unique issues, but with some foresight, you can prevent problems such as:
- Condensation on walls: If walls feel damp, use a dehumidifier before painting.
- Sticky or tacky surfaces: Longer drying times may require waiting an extra day before recoating.
- Uneven finish: If paint appears streaky or patchy, allow more drying time between coats and maintain consistent indoor temperatures.
- Cracking or peeling: This typically results from painting over a cold or wet surface. Ensure walls are completely dry before starting.
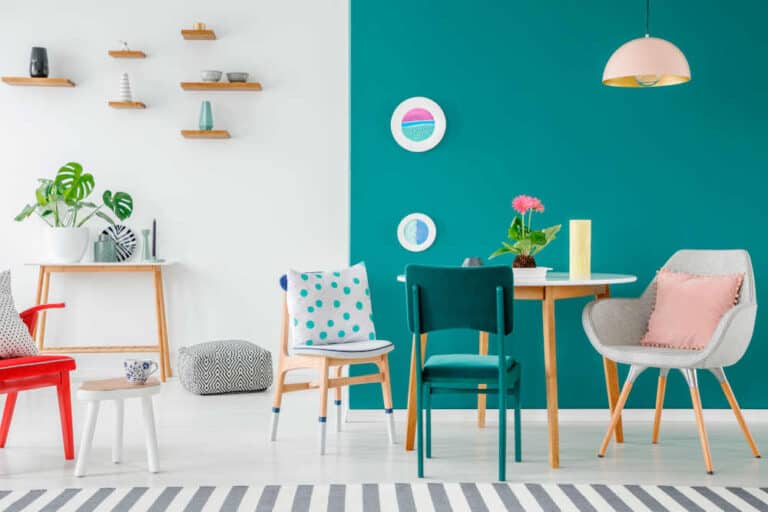
9. Best Rooms to Paint During Winter
Since exterior painting is off-limits in winter, take the opportunity to refresh indoor spaces. The best rooms to paint include:
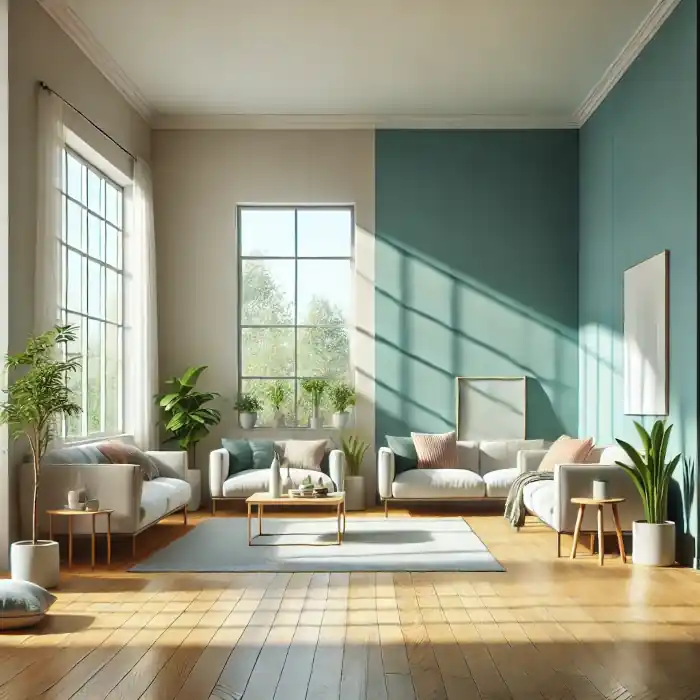
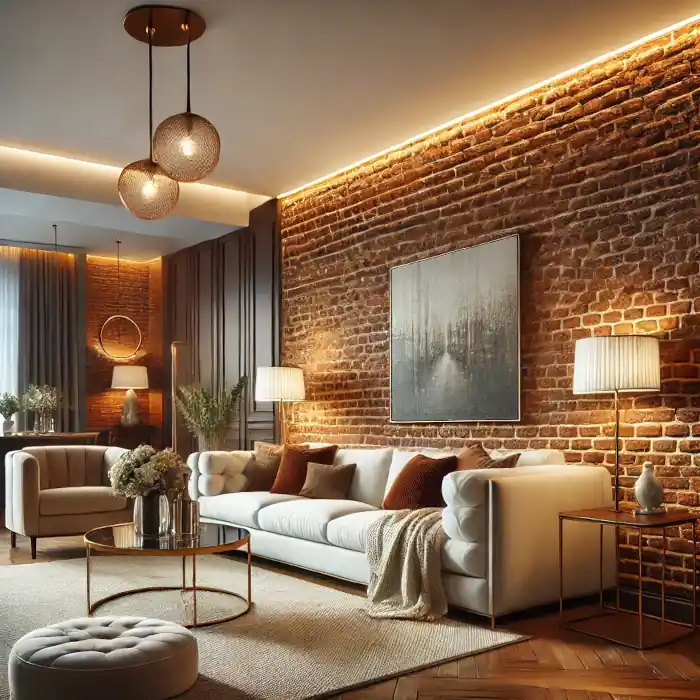
- Bedrooms and living rooms – Ideal for using low-VOC paints with minimal odor.
- Home offices and workspaces – A new paint job can boost productivity and mood.
- Kitchens and bathrooms – Warmer indoor heating can help with faster drying times in these rooms.
- Basements – Since basements tend to be cooler, use a heater and dehumidifier to maintain ideal painting conditions.
10. Timing Your Winter Painting Project
While winter is a great time for interior painting, some days are better than others. Aim for days when:
- The indoor humidity is stable.
- You can provide proper ventilation.
- You have enough time to let the paint dry before moving the furniture back.
If painting a large area, break the project into sections so rooms remain livable while others dry.
Final Thoughts
Painting indoors during winter can be a productive and rewarding home improvement project when done correctly. By choosing the right paint, maintaining proper temperature and humidity, ensuring ventilation, and using the best tools and techniques, you can achieve a flawless finish despite the cold season.
Embrace the colder months as the perfect time to update your home’s interior, and follow these winter painting tips for a stress-free experience!
Views Expressed Disclaimer
The views, opinions, and information presented in this article are for informational purposes only and do not necessarily reflect the official policies or positions of Crocker Home Painting Company. While every effort has been made to ensure accuracy, Crocker Home Painting Company is not liable for any errors, omissions, or decisions made based on the content provided. Readers are encouraged to consult professionals for specific advice or assistance related to their unique circumstances.