As an Amazon Associate, I earn from qualifying purchases. Privacy Policy / Terms
When it comes to painting your home, preparation is everything. No matter how high-quality your paint or skilled your technique, the end result depends largely on how well the walls were prepared beforehand. From cleaning to priming, proper preparation ensures smooth application, vibrant colors, and a durable finish that stands the test of time.
In this comprehensive guide, we’ll walk you through every step of preparing your walls for painting. Whether you’re tackling a DIY project or hiring professionals, these insights will help you achieve picture-perfect results.
Why Wall Preparation Is Essential
Before picking up a paintbrush, consider the importance of a properly prepped surface. Painting over dirty, uneven, or damaged walls can lead to issues like peeling, uneven color, or an unattractive finish. Proper preparation offers several benefits:
- Smooth Application: Clean, primed walls allow paint to glide on evenly, without streaks or blotches.
- Longevity: Prepped surfaces help paint adhere better, preventing peeling, cracking, or bubbling over time.
- Enhanced Aesthetics: Addressing imperfections like cracks, holes, or rough patches ensures a polished, professional look.
- Efficient Use of Paint: Proper prep reduces the number of coats needed, saving time and money.
Skipping preparation might save time upfront, but it often leads to costly mistakes and unsatisfactory results.
Identifying Common Wall Issues
Every wall presents unique challenges. Here are the most common problems you might encounter and how to address them:
1. Cracks and Holes
- Small cracks or nail holes are easy to fill with spackle or lightweight filler.
- Larger holes may require drywall patches, mesh tape, or joint compound for stability and a seamless finish.
2. Uneven Surfaces
- Uneven areas or ridges can result in poor paint adhesion. Sand these spots down with medium-grit sandpaper to create a uniform surface.
3. Dirt, Grease, and Stains
- Residue from cooking, fingerprints, or everyday grime can interfere with paint adhesion. Clean thoroughly with a mild detergent or TSP (trisodium phosphate) solution.
4. Peeling or Flaking Paint
- Old, peeling paint must be scraped away with a putty knife or paint scraper. Sand the edges smooth to avoid visible lines under the new paint.
5. Water Damage or Mold
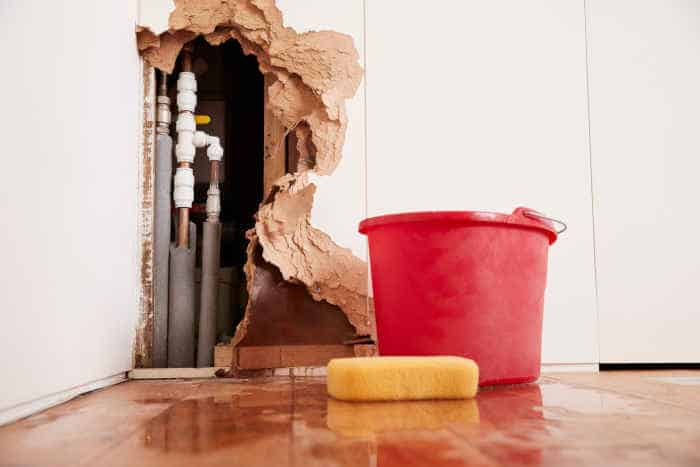
- Walls with water stains or mold need special attention. Use a stain-blocking primer to prevent discoloration, and address the source of moisture to avoid future problems.
Step-by-Step Wall Preparation Process
1. Clean the Walls Thoroughly
Cleaning is the first and most critical step. Dust, grease, or debris can cause paint to flake or not adhere properly.
- Dust the walls with a microfiber cloth or vacuum to remove cobwebs and dirt.
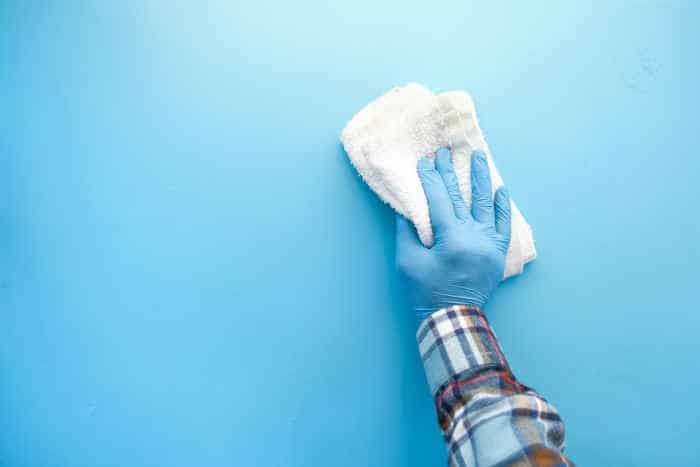
- Wash with warm water and mild detergent, paying extra attention to high-touch areas.
- For kitchens, use a degreaser to cut through stubborn grease.
- Let the walls dry completely before moving on.
2. Repair Damage
Smooth walls are essential for professional results.
- Fill small holes and cracks with spackle or filler using a putty knife.
- For larger repairs, apply joint compound and smooth it with a drywall knife.
- Allow the filler to dry, then sand it until flush with the wall surface.
3. Sand the Walls
Sanding helps create a surface that paint can adhere to.
- Use medium-grit sandpaper to smooth rough patches, filler, or glossy areas.
- For previously painted walls, lightly scuff the surface to ensure proper adhesion.
- Wipe down the walls with a damp cloth to remove dust from sanding.
4. Mask and Protect
Protecting surfaces is just as important as preparing walls.
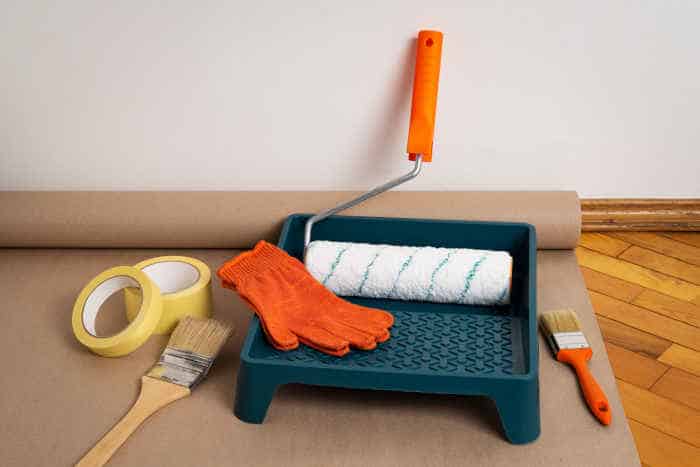
- Apply painter’s tape to trim, baseboards, windows, and outlets.
- Use drop cloths or plastic sheeting to cover furniture and floors.
5. Prime the Surface
Primer creates a uniform base, especially for porous surfaces or when painting over dark colors.
- Choose the right primer for your project. For example, use a stain-blocking primer for walls with water stains or a high-bond primer for glossy surfaces.
- Apply one coat of primer and allow it to dry completely before applying paint.
Tools and Materials Checklist
Here’s what you’ll need to prep like a pro:
- Microfiber cloth or vacuum
- Mild detergent or TSP solution
- Spackle or lightweight filler
- Joint compound (for large repairs)
- Putty knife
- Sandpaper (medium and fine grit)
- Painter’s tape
- Drop cloths or plastic sheeting
- Primer (suited to your wall’s needs)
- Paint scraper or putty knife (for flaking paint)
Having these tools on hand ensures you’re prepared for every step of the process.
Room-by-Room Wall Prep Tips
Different rooms have unique requirements based on traffic, moisture, and usage. Here’s how to tailor your preparation:
Living Rooms and Bedrooms
- Focus on creating smooth, clean surfaces.
- Use a basic primer for even coverage.
Kitchens and Bathrooms
- Pay extra attention to grease, stains, and moisture.
- Use moisture-resistant or stain-blocking primer for the best results.
Hallways and Entryways
- These high-traffic areas often have scuffs and dents. Sand thoroughly and consider durable primer options.
Trim and Moldings
- Ensure edges are clean and sanded smooth.
- Use painter’s tape to avoid paint bleeding onto walls.
When to Call a Professional
While some wall prep tasks can be DIY-friendly, others require professional expertise, especially when:
- Walls have significant water damage, mold, or structural issues.
- Extensive sanding, priming, or repairs are needed.
- Time is a factor, and you want fast, reliable results.
Professional painters not only save you time but also ensure every detail is handled with care, leaving you with walls that are flawless and ready for paint.
Transform Your Home with Professional Painting Services
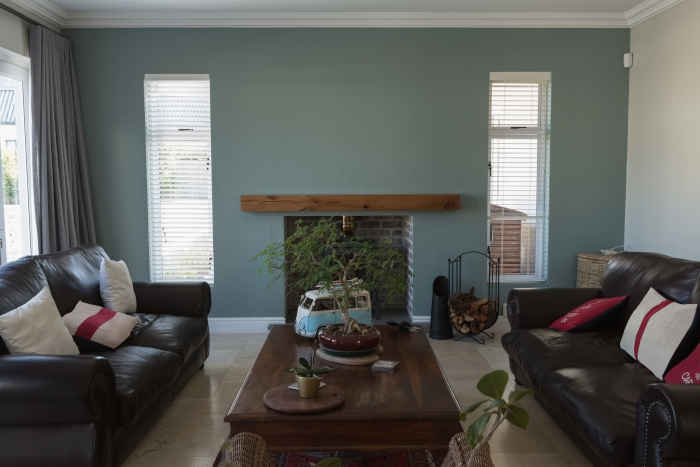
Wall preparation is the unsung hero of a successful painting project. It’s the foundation for a beautiful, long-lasting finish. If you’re ready to refresh your space but don’t want the hassle of preparing walls yourself, our expert team is here to help. From meticulous preparation to flawless painting, we’ll make your vision a reality.
Contact us today to schedule your consultation and let us bring new life to your walls with professional precision and care.
Views Expressed DisclaimerThe views, opinions, and information presented in this article are for informational purposes only and do not necessarily reflect the official policies or positions of Crocker Home Painting Company. While every effort has been made to ensure accuracy, Crocker Home Painting Company is not liable for any errors, omissions, or decisions made based on the content provided. Readers are encouraged to consult professionals for specific advice or assistance related to their unique circumstances.


