As an Amazon Associate, I earn from qualifying purchases. Privacy Policy / Terms
Are you looking to enhance the beauty and value of your home? A fresh coat of paint might be just what you need! Whether you’re updating your living spaces or improving curb appeal, residential painting is a simple and affordable way to make a big impact. Let’s dive into how you can plan and execute your project with ease, ensuring gorgeous and lasting results.
Why Residential Painting Matters
Painting does more than improve how your home looks. It’s also about:
- Protection: Paint creates a shield against wear, moisture, and UV damage, ensuring that surfaces last longer. By painting regularly, you can prevent costly repairs caused by weather or aging. In fact, painting is often considered a cost-effective maintenance strategy, as it helps prolong the lifespan of walls, siding, and other structural elements.
- Curb Appeal: A well-painted home creates a welcoming and attractive first impression. If you’re selling, this simple improvement can significantly increase your home’s value and desirability. Real estate experts agree that a fresh exterior can make your home stand out in the market.
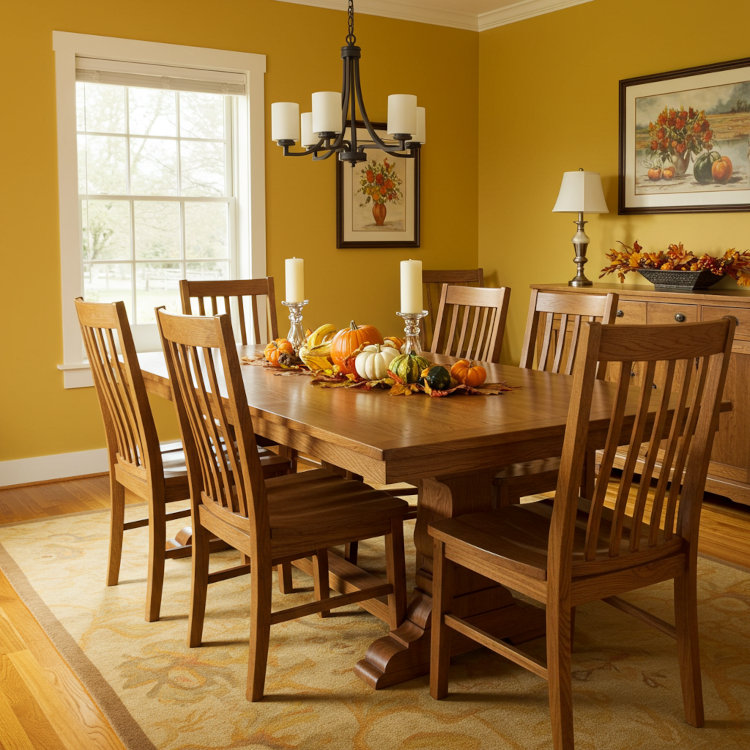
- Personal Style: Color choices have the power to transform your house into a reflection of your unique personality and design preferences. For example, bold colors can energize spaces, while soft pastels can create a calming atmosphere. The right palette can make your home feel uniquely yours.
How to Plan Your Painting Project
Before you begin, thorough planning will set you up for success. Follow these steps to ensure a smooth and stress-free experience:
1. Know Your Goals
Think about why you’re painting. Are you preparing your home for resale, trying to modernize outdated decor, or simply refreshing tired walls? Having a clear purpose will make it easier to select colors, tools, and timelines. For example, if resale is your goal, you might lean toward neutral tones that appeal to a wide audience.
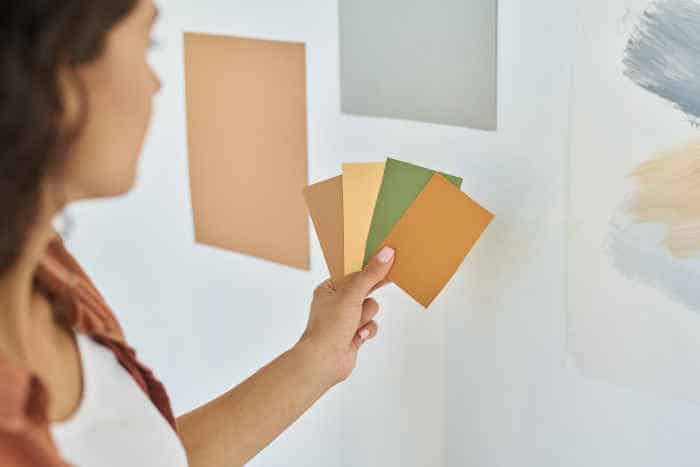
2. Pick the Perfect Colors
Choosing the right colors can feel daunting, but it doesn’t have to be. Consider these tips:
- Use neutral tones for a timeless, versatile look that pairs well with any decor. Neutrals like beige, gray, and white are especially popular for creating a modern, minimalist feel.
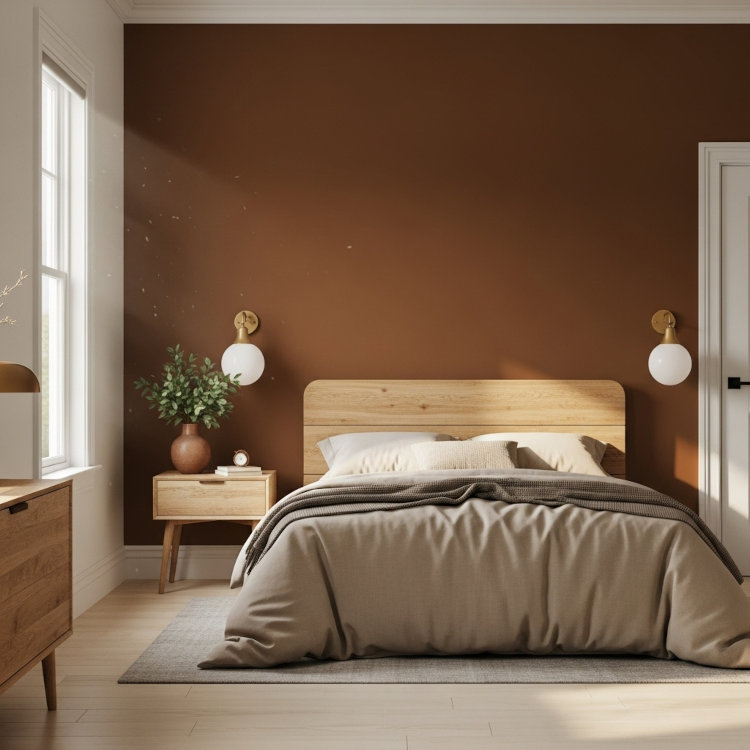
- Incorporate bold accents on a feature wall or trim to create visual interest and personality. Deep blues, greens, or even black can make a striking statement.
- Pay attention to natural light and how it affects color throughout the day. Test a few samples before committing to a full wall, and observe how the shades look under different lighting conditions.
3. Check Your Walls and Surfaces
Start with a thorough inspection of the surfaces you plan to paint. Identify any damage such as cracks, holes, or peeling paint. These issues must be addressed before painting to ensure the best results. Additionally, consider the material of the surface (e.g., drywall, wood, or stucco) to choose appropriate primers and paints.
Tools You’ll Need
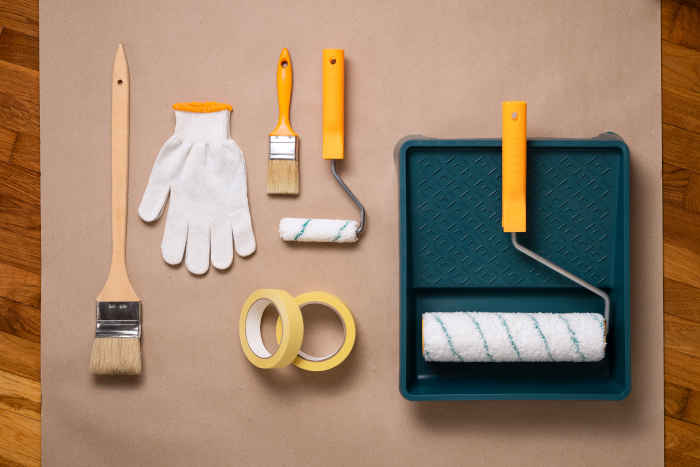
Having the right tools can make all the difference between a smooth process and a frustrating one. Here’s what you’ll need:
- Paint: Opt for high-quality options in your chosen finish. Interior and exterior paints are formulated differently, so choose accordingly. Many paints now offer low-VOC (volatile organic compounds) options, which are better for indoor air quality.
- Primer: Essential for covering stains, sealing surfaces, and helping paint adhere better. Some paints come with built-in primers, which can save time for certain projects.
- Brushes and Rollers: Use high-quality brushes for precise edges and rollers for large surfaces. Foam rollers work well for smooth finishes, while textured rollers are better for uneven surfaces.
- Painter’s Tape: Keeps lines sharp and prevents accidental paint splashes. Look for tape designed for delicate surfaces if you’re working on wallpaper or fresh drywall.
- Drop Cloths: Protect your floors, furniture, and fixtures from spills and splatters. Canvas drop cloths are durable and reusable, while plastic sheets are more affordable for one-time use.
- Ladders: A sturdy ladder helps you safely reach higher areas, especially for ceilings or tall walls. Consider using an adjustable ladder for versatility.
Preparing for Painting
Preparation is the foundation of any successful painting project. Without it, even the best paint job won’t look professional. Here’s how to get ready:
1. Clear and Protect the Space
Move furniture and decor out of the way. For large or immovable items, cover them with durable drop cloths to protect against spills. Removing clutter also ensures you have plenty of room to work safely.
2. Clean the Walls
Use a mild detergent or a damp cloth to clean the surfaces. Removing dirt, grease, and dust ensures the paint adheres properly and evenly. For particularly grimy areas, consider using a trisodium phosphate (TSP) cleaner.
3. Repair Imperfections
Fill any cracks or holes with spackle, then sand them until smooth. If the wall has existing peeling paint, scrape it off and sand the area before priming. This step is crucial for achieving a smooth, even finish.
4. Tape Off Edges
Carefully apply painter’s tape around trim, windows, and other edges to achieve sharp lines and a professional finish. Press the tape firmly to prevent paint from seeping underneath.
Tips for a Professional Finish
Now that you’re ready to start painting, keep these techniques in mind to ensure a flawless result:
1. Prime Before You Paint
Priming isn’t just an extra step—it’s crucial for covering stains and creating an even base for your paint. Choose a primer that’s compatible with both your surface material and the type of paint you’re using. For example, oil-based primers work well on wood, while water-based primers are ideal for drywall.
2. Apply Thin, Even Coats
Instead of one thick coat, apply two or three thin coats. This helps prevent drips and creates a more polished finish. Allow each coat to dry completely before adding the next one. Using thin coats also allows for better color consistency.
3. Keep a Consistent Motion
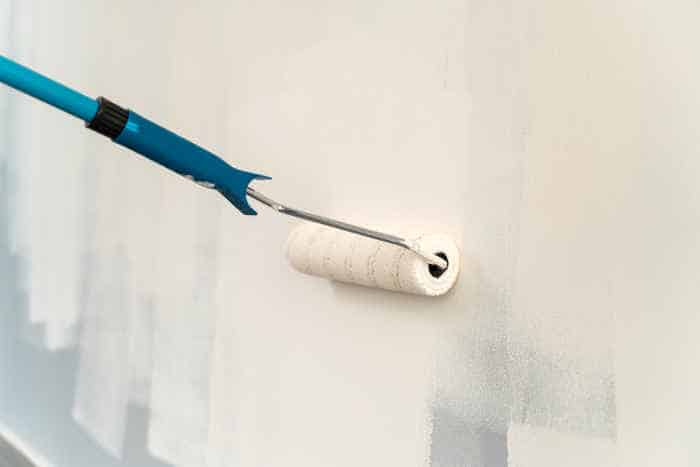
When rolling paint onto walls, use a W or M pattern to distribute it evenly. Always blend freshly applied paint with the previous stroke to avoid lap marks. Maintaining a consistent pressure on the roller ensures an even application.
4. Allow Adequate Drying Time
Rushing the drying process can lead to smudges or uneven textures. Follow the manufacturer’s drying guidelines to ensure long-lasting results. Ventilate the room well to speed up drying and reduce fumes.
Interior Painting Tips
Walls and Ceilings
Start painting from the ceiling and work your way down. This technique prevents drips from spoiling freshly painted walls. Use flat paint for ceilings to minimize glare and imperfections. For walls, rollers are your best friend, while brushes are ideal for tight corners.
Trim and Doors
Trim and doors require special attention. Use a semi-gloss or gloss finish for these areas, as they’re more durable and easier to clean. Sand lightly between coats for a perfectly smooth result.
Exterior Painting Tips
Surface Preparation
For exterior surfaces, preparation is even more critical. Use a power washer to remove dirt, mildew, and loose paint. Let everything dry thoroughly before beginning. Fill gaps with caulk to seal out moisture.
Choose Weather-Resistant Paint
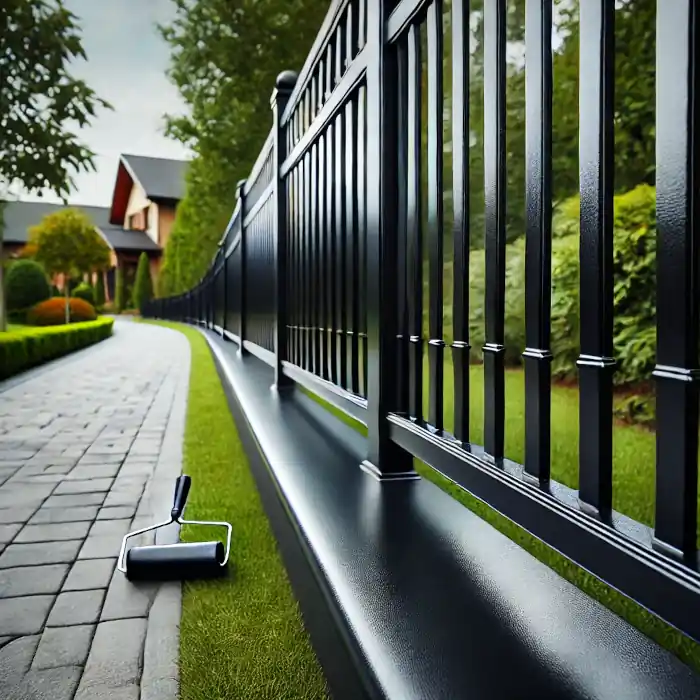
Exterior paints are designed to withstand harsh weather conditions. Apply at least two coats for added protection and a vibrant finish. Choose colors that complement your landscaping and home style.
Timing Is Everything
Paint during mild, dry weather to ensure proper adhesion and drying. Avoid painting on windy, humid, or extremely hot days.
DIY vs. Hiring a Professional
Should you paint yourself or hire a pro? Consider the scope of your project, your budget, and your comfort level with DIY tasks.
- DIY Benefits: Save money and work at your own pace.
- Professional Benefits: High-quality results, time savings, and expertise for complex jobs.
Maintaining Your Painted Surfaces
Keep your paint looking fresh by cleaning regularly and touching up any chips or scratches. For exterior paint, inspect annually and address peeling or fading as soon as possible to prevent further damage.
Final Thoughts
Residential painting is a rewarding project that can completely transform your space. With careful planning, the right tools, and attention to detail, you’ll achieve stunning results that last. Whether you DIY or hire a pro, your home will thank you for the refresh!
Views Expressed DisclaimerThe views, opinions, and information presented in this article are for informational purposes only and do not necessarily reflect the official policies or positions of Crocker Home Painting Company. While every effort has been made to ensure accuracy, Crocker Home Painting Company is not liable for any errors, omissions, or decisions made based on the content provided. Readers are encouraged to consult professionals for specific advice or assistance related to their unique circumstances.


